Chock the Wheels
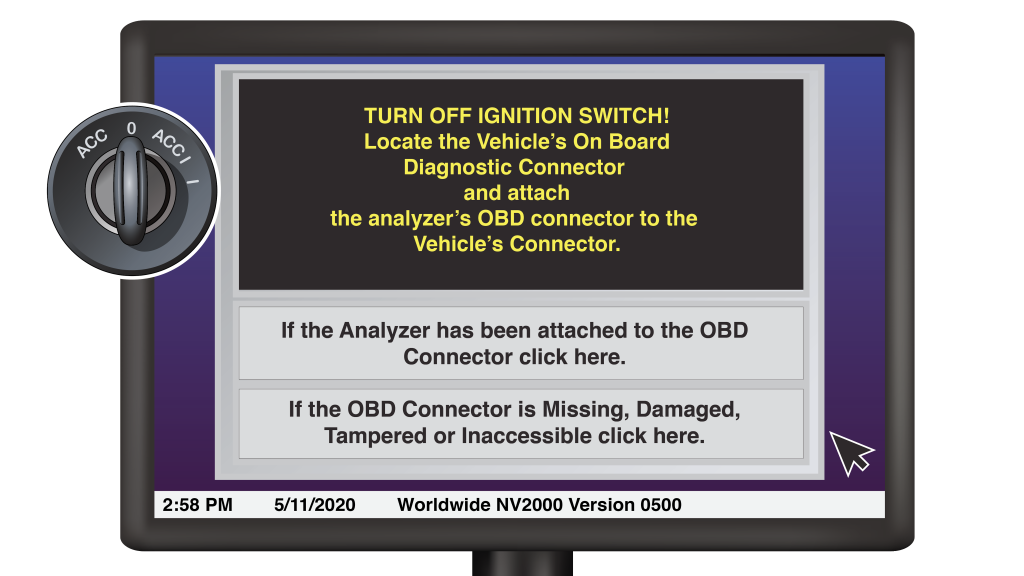
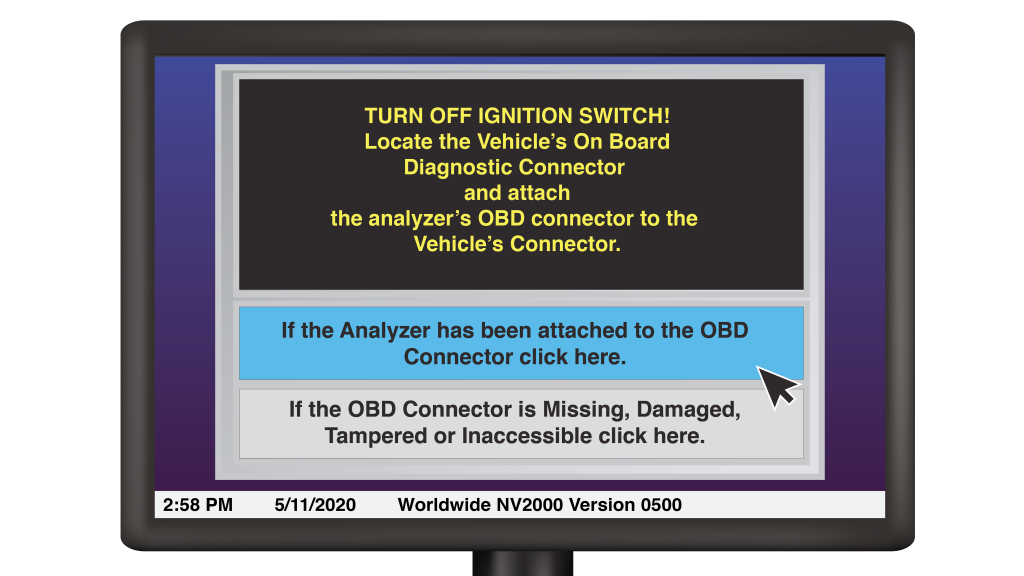
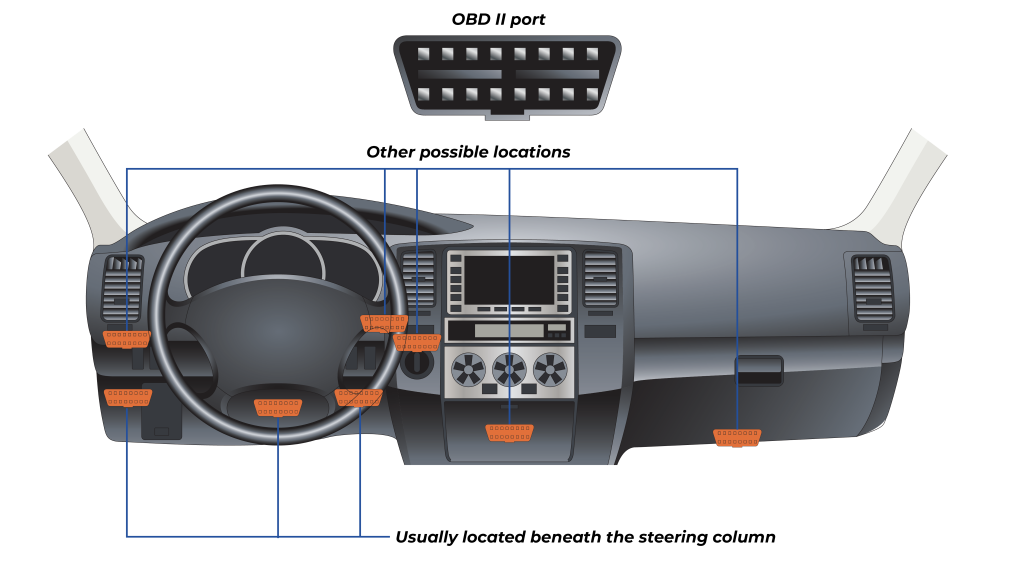
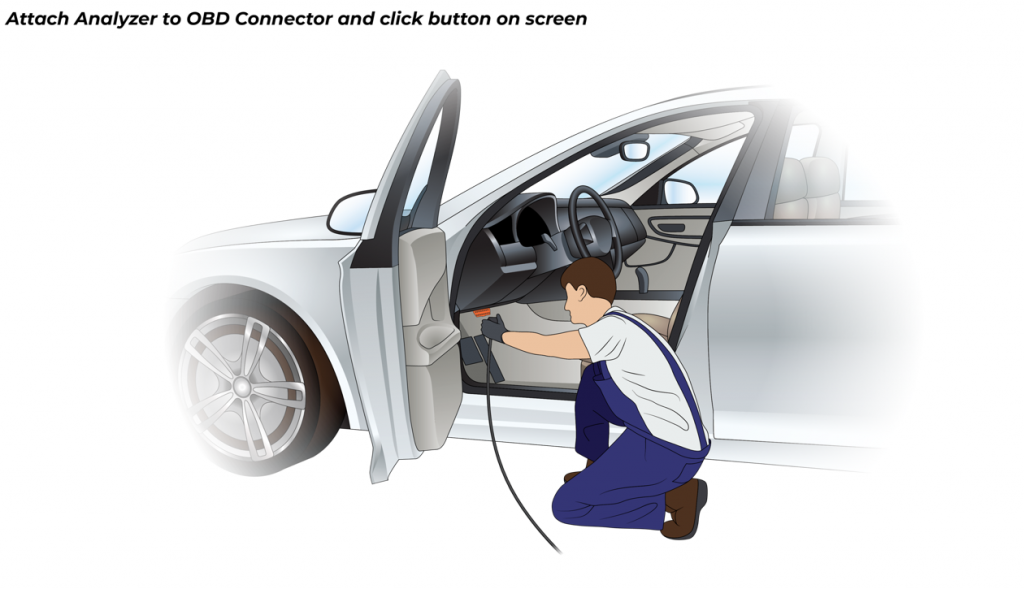
The first screen of the OBD-II test sequence instructs you to turn off the ignition switch. The vehicle must be turned off before attaching the DLC, or you risk connectivity errors with the vehicle. By turning the vehicle off at this point in the inspection, you give the vehicle enough time to power down while you locate the OBD-II port and attach the DLC. On certain vehicles, you will have to remove the key from the ignition in order to completely power down the security system. Make sure the key is removed from the ignition for at least 30 seconds. Next you will locate the OBD-II connector. Usually it is located somewhere under the driver’s side dashboard underneath the steering wheel. Sometimes it is located in other places, such as behind the ash tray or in the passenger’s side footwell. You should use the connector location reference guide in the 1G Inspector’s Handbook if necessary. If the connector is missing or damaged, you should select the Missing, Damaged, Tampered, or Inaccessible option at the bottom of the screen. If the OBD-II connector has any after-market wiring attached to it, or any non-factory devices wired into it as a power source, do not connect the DLC. Damage to the analyzer or vehicle may result.
This does not include “Plug Through” devices. If you select that the DLC is Missing, Damaged, Tampered, or Inaccessible, you will be asked to confirm the selection. Once you have confirmed the selection, you will be directed to the DLC Reason Screen, where you will be asked to specify why you marked it. Possible reasons include Missing, Tampered, Inoperable, Not Inaccessible, or Cannot Be Located. Upon selecting an option, the vehicle will fail the test. It should be referred to the DMV emissions lab for examination.
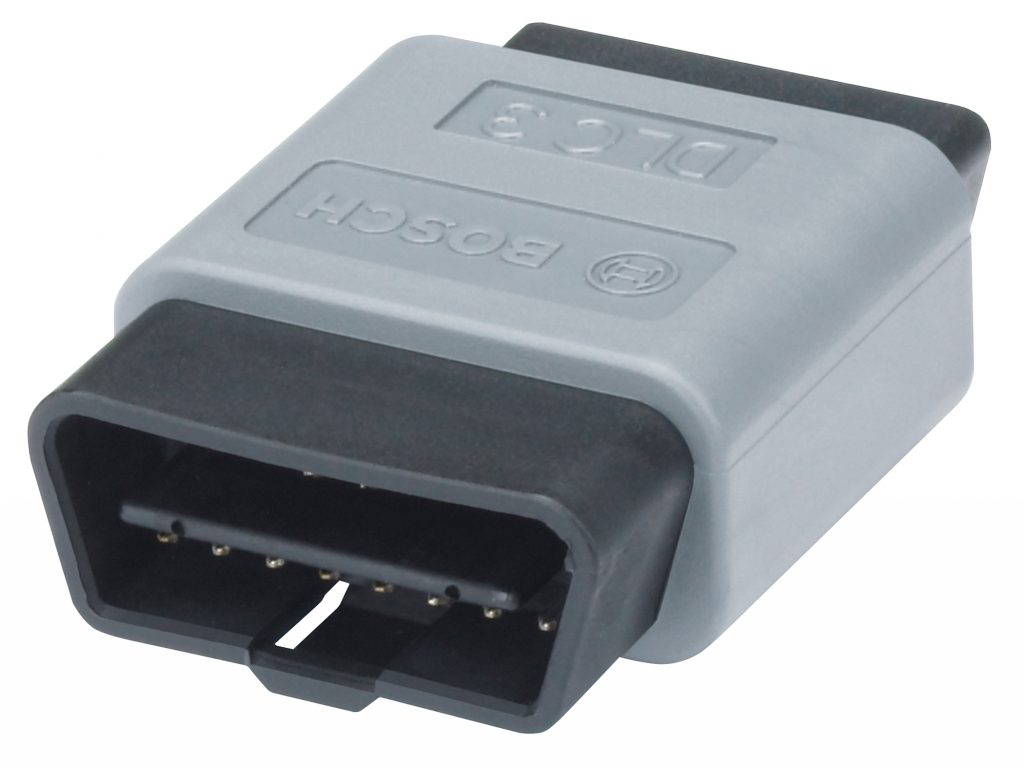
If the DLC appears present and functional, attach the OBD-II plug to the OBD-II port.
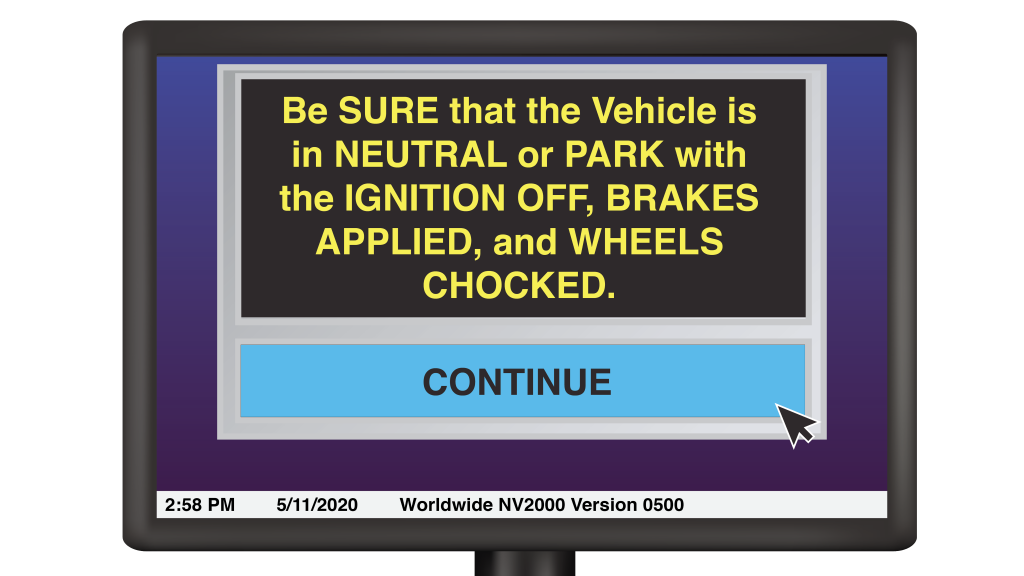
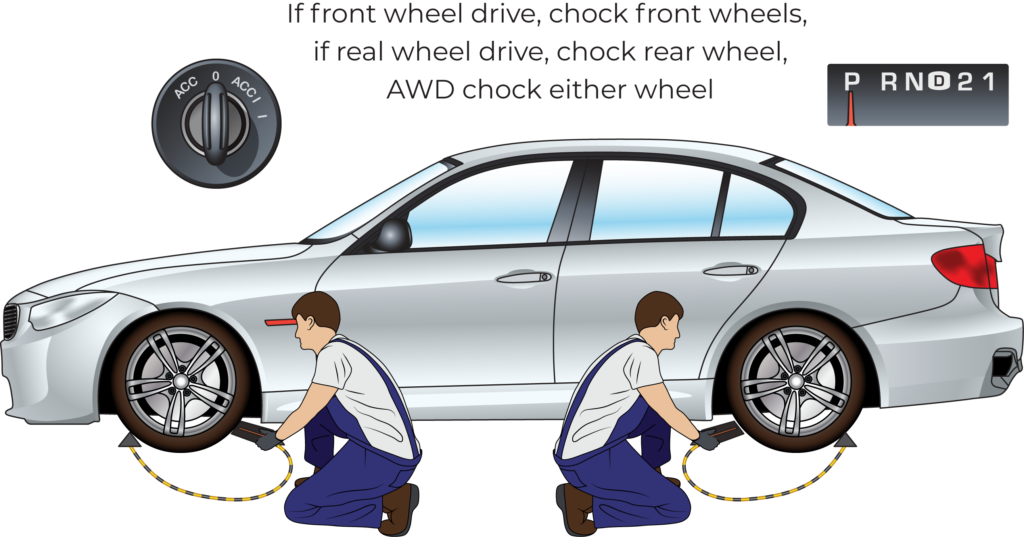
The next screen will prompt you to put the vehicle in PARK or NEUTRAL and chock the wheels. Every Emission Station must be equipped with wheel chocks. You should always chock the front and rear of the same drive wheel. If the vehicle is front wheel drive or all-wheel drive, chock the drivers side front wheel. If the vehicle is rear wheel drive, chock the drivers side rear wheel.
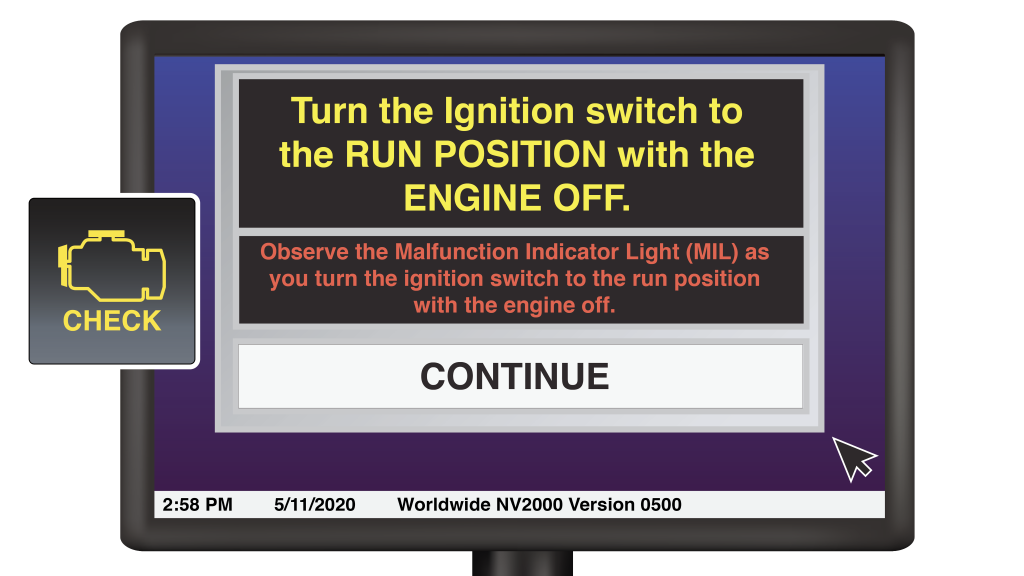
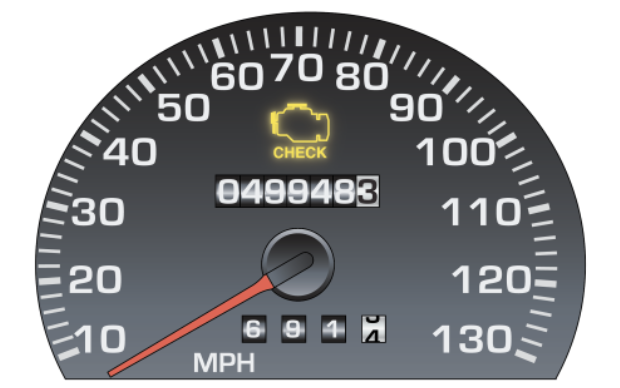
After chocking the wheels and shifting the vehicle into park or neutral and applying the parking brake, rotate the ignition key to the key on engine off (KOEO) position, and observe carefully if the Malfunction Indicator Lamp, or MIL, illuminates. The MIL is a warning light that corresponds to emissions related issues. Watch closely. Often the MIL, also known as the Check Engine Light, will only illuminate for the briefest moment before going out. You are only confirming its ability to light, so even this brief flash is acceptable. Other times the light will stay on as long as the key is in the KOEO position. In the case of keyless ignitions, you should follow the manufacturer’s instructions. Frequently, simply taking your foot off the brake with the vehicle in park, and pressing the ignition button will illuminate all indicator lights on the dash without starting the car. If you cannot get the lights to illuminate, consult OBDII Clearinghouse.com at http://obdclearinghouse.com/index.php?body=can for specific instructions. The check engine light is usually yellow, orange or red. It is frequently a graphic in the shape of an engine, though some will be a block of text that say simply “Check Engine,” or “Service Engine Soon.” These are easy to confuse with a maintenance warning light, however, the key difference is that a MIL will always have the word “Engine” in it, where maintenance lights will not. Check if the MIL light illuminated, and select continue.
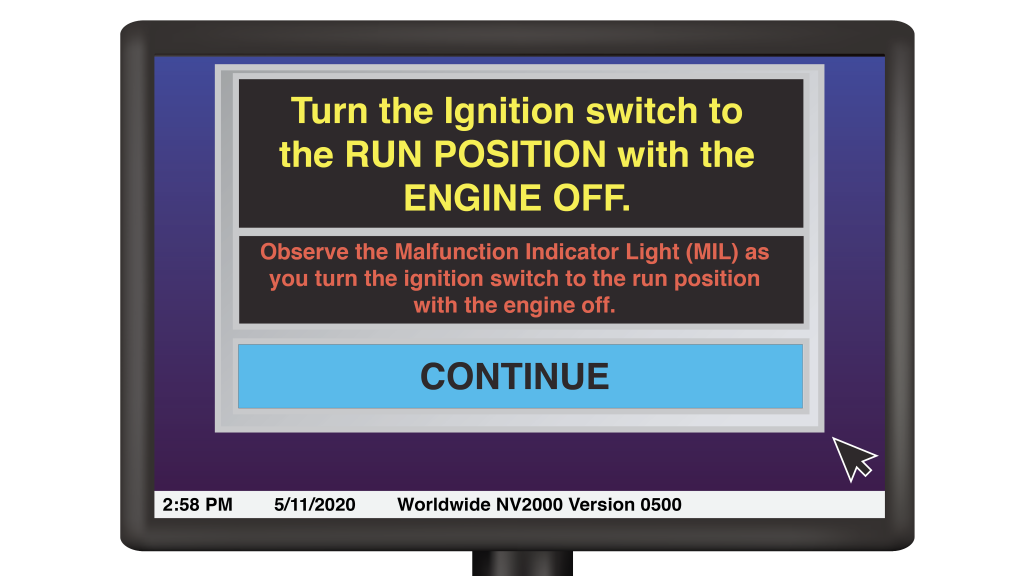
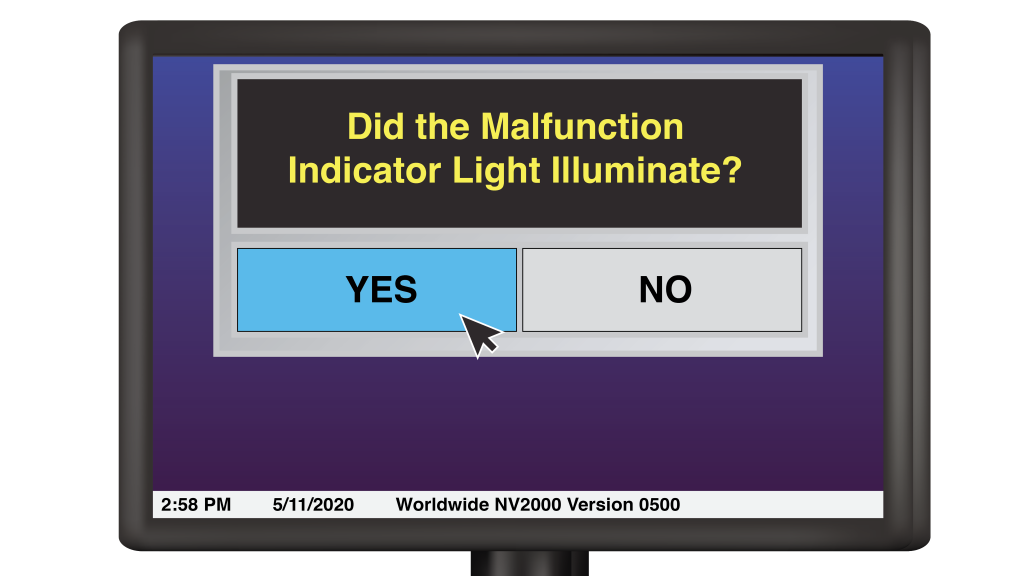
The next screen will ask you if the MIL illuminated. If it did, even briefly, then select YES. If it did not, then select NO. If this second selection is made, the vehicle will automatically fail and must be repaired before it will pass the emissions inspection.
Once more ensure the ignition switch is in the OFF position, and then check again that the vehicle is in PARK or NEUTRAL, with the wheel chocks in place to ensure the safety of everyone around.
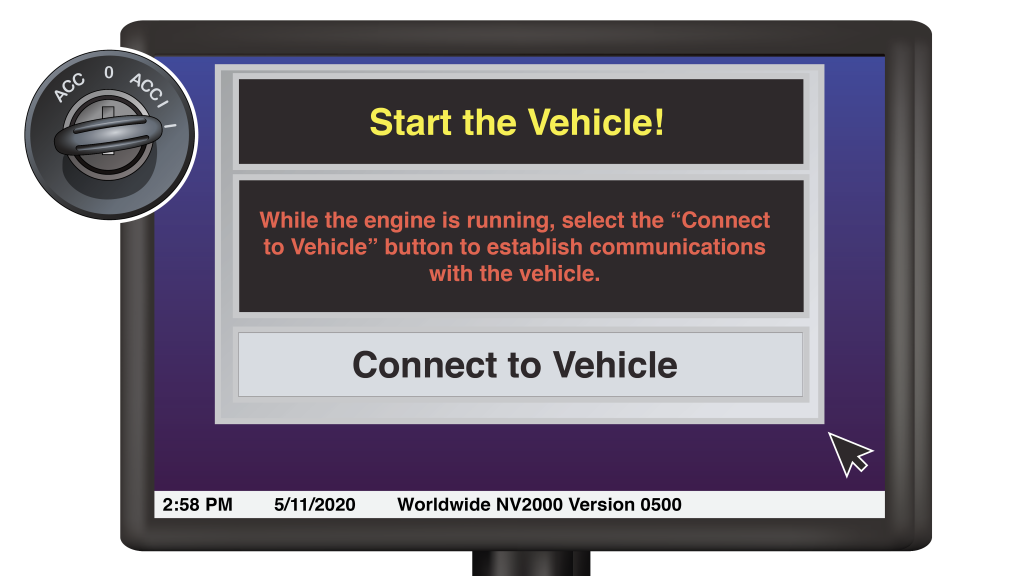
Turn the key to the ON position to start the engine, and let it idle. Then click the “Connect to Vehicle” button.
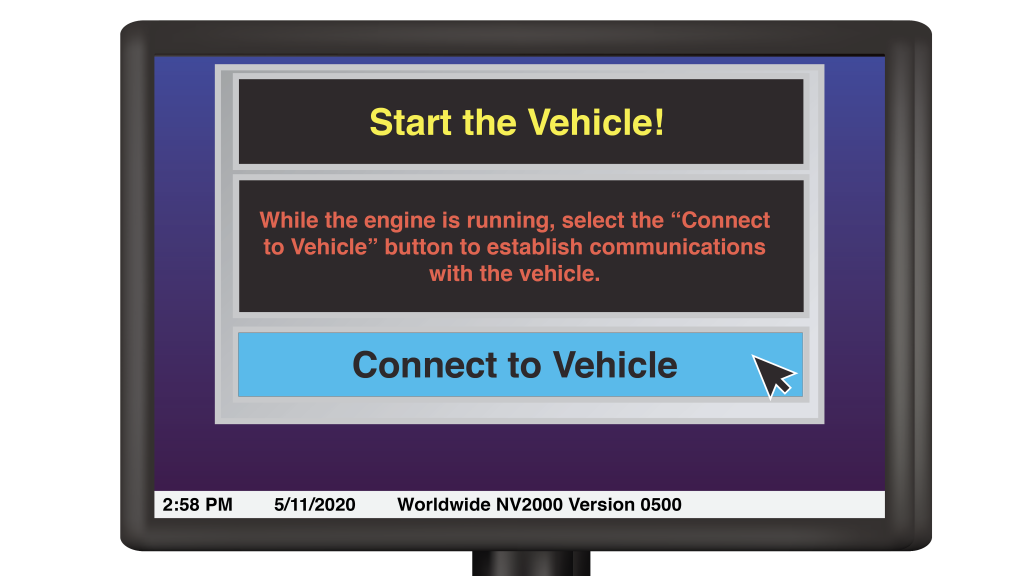
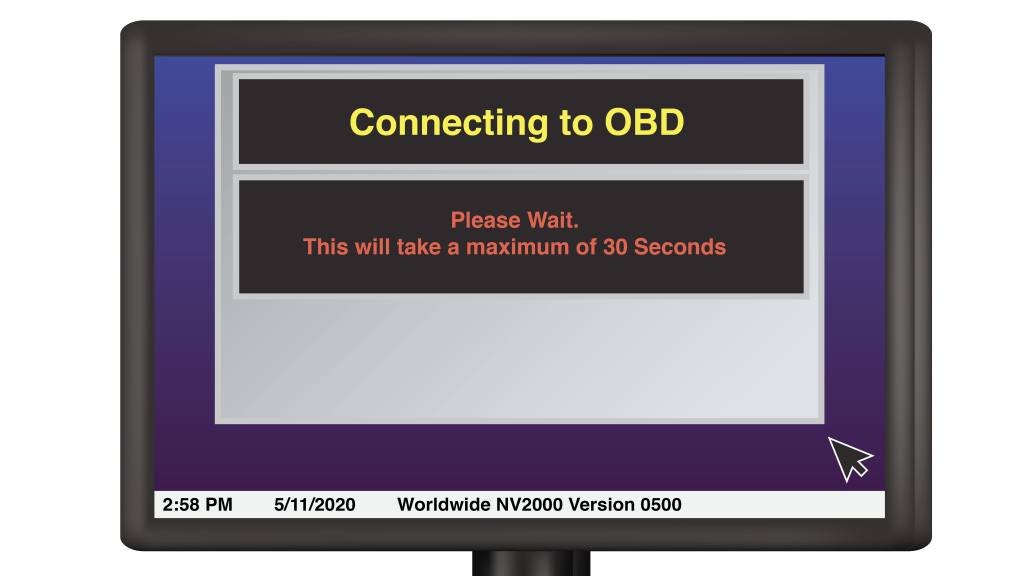
The analyzer screen will momentarily read “Connecting to OBDII.” This message may remain for up too 30 seconds. Once connectivity with the vehicle is established, the analyzer will proceed to verify that the engine is running. Sometimes an error message will occur if there are connectivity issues. This can result from the DLC cable being damaged, or from software issues where some older vehicles do not communicate RPM correctly to more modern programs.
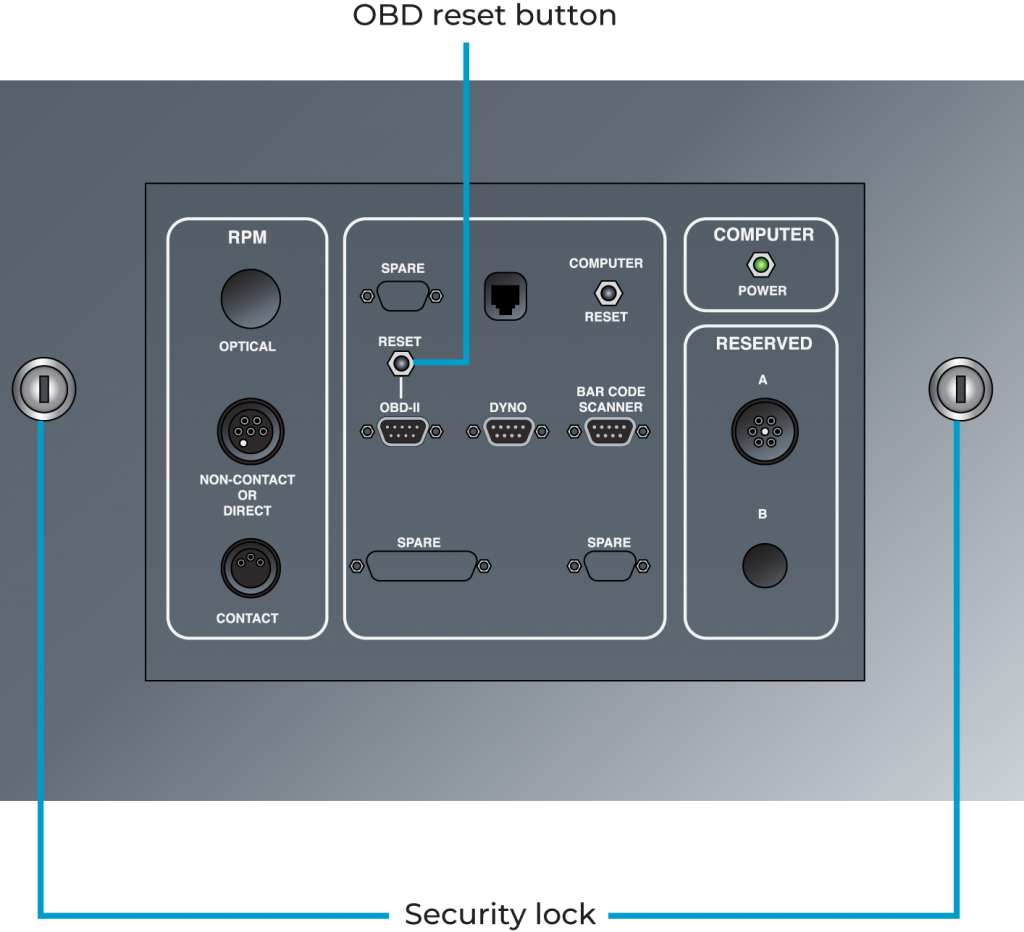
Sometimes a message screen will appear stating “Error Verifying Engine Running.” If this occurs, check the OBD Connector at the back of the analyzer, and try again. If no connection is present, confirm the DLC connection and hit the “Reset OBD-II Button” above the OBD Connector on the analyzer. If no signal can be obtained, the vehicle should be referred to the emissions lab for inspection. The vehicle will be rejected from emissions testing.
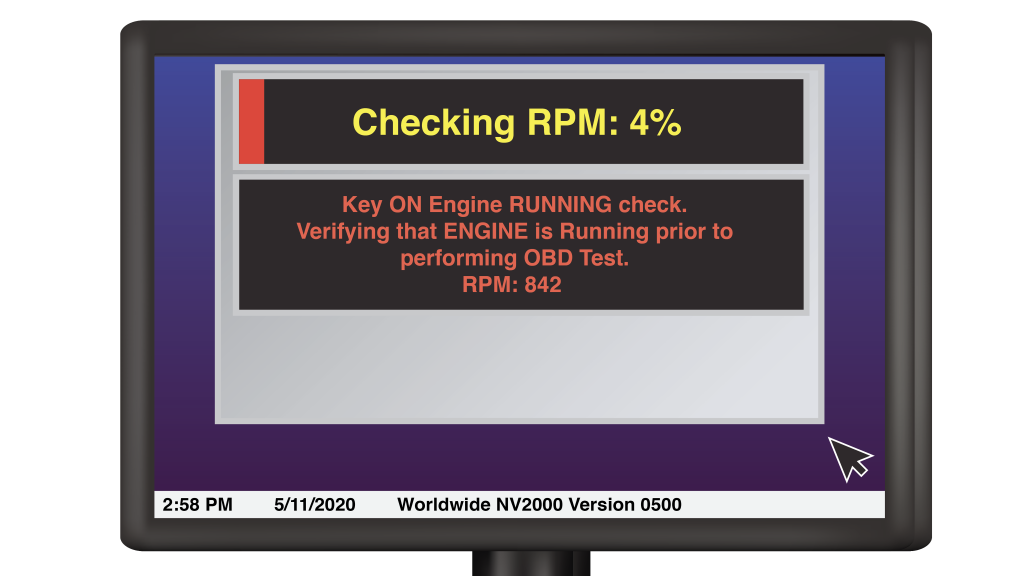
If the analyzer does not produce an error message, the analyzer will verify that the engine is running. The red RPM bar must reach 100% to complete this portion of the test.
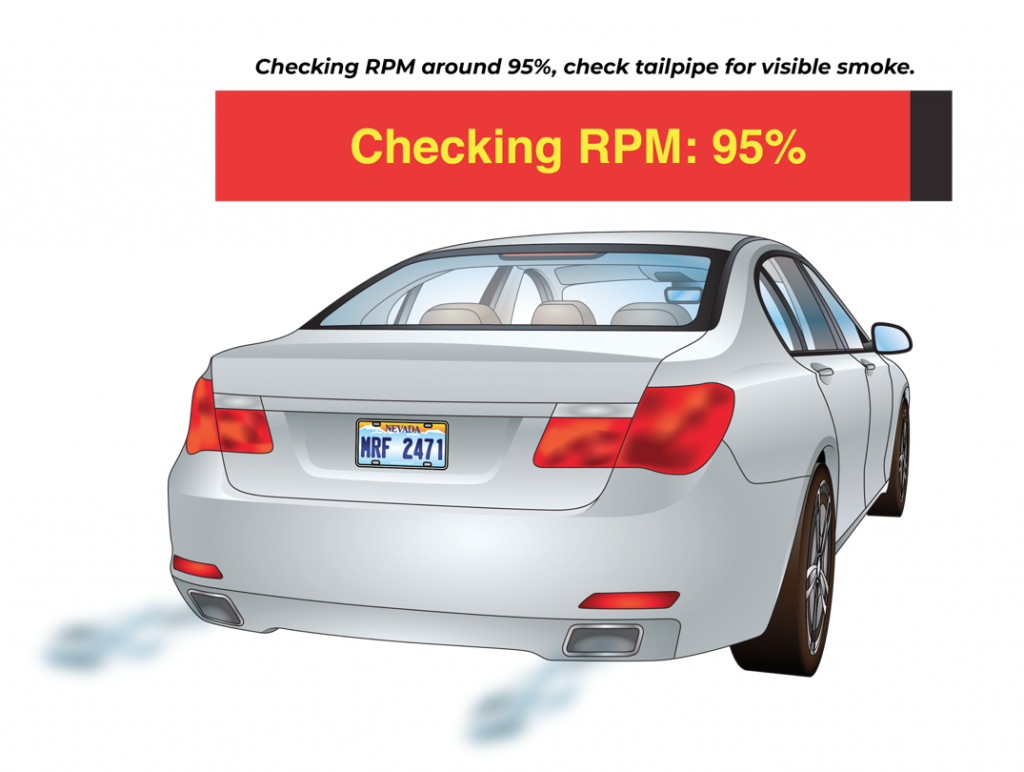
While the RPM bar is running to completion, check the vehicle for visible smoke from the tail pipe(s). Verify that no smoke is present. Exhaust smoke, as opposed to steam from water vapor and condensation, will be a grey, blue or blackish color and will linger visibly in the air, where vapor will be white and will evaporate quickly after leaving the tailpipe. If smoke is present, make note of it.
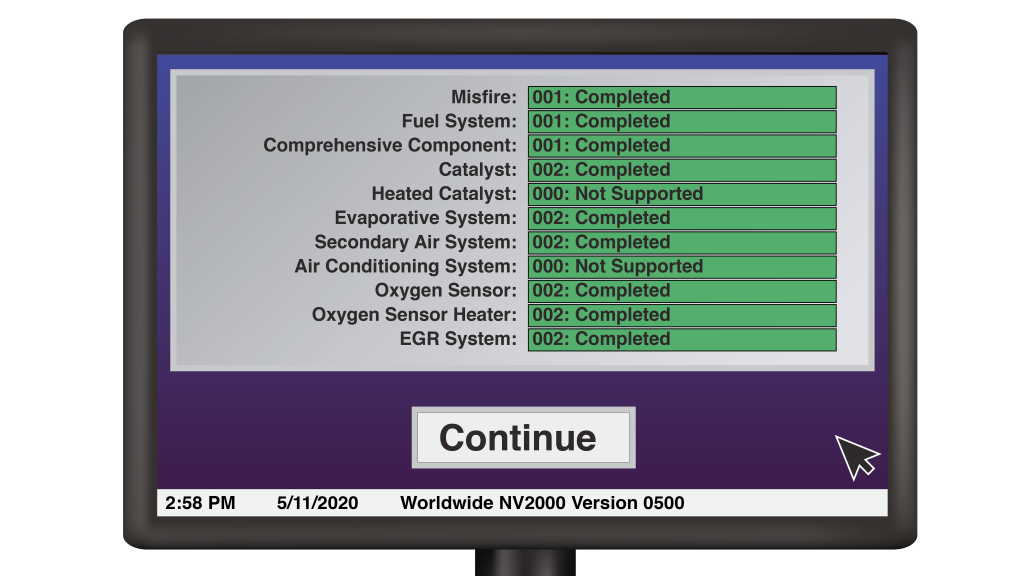
Once the RPM bar reaches 100%, the next screen will provide a list of monitors and their status. OBD-II equipped vehicles are continuously monitored for trouble codes which correspond to system failures. If a trouble code is registered for a system monitor, a corresponding warning light is called on. For emissions related codes, this is the MIL. The Powertrain Control Module, the main computer for the vehicle, stores information for each monitor. The monitors constantly bank new information to ensure they reflect current running conditions. This information is stored at the completion of each drive cycle.
In most cases, the monitor will read COMPLETED in green on the readiness screen. Some systems are not present on all vehicles. These will be listed as Not Supported on the Monitor Status Screen. Sometimes, a monitor will be listed in RED as Not Completed. This means that there is not enough information stored in the vehicle computer to determine the status of that monitor. This is caused by the computer having insufficient power to maintain all information stored for the monitors in its database.
This occurs when the battery has run down from lack of use, or when the charging system is not properly charging the battery. It can also occur if the battery is old and no longer charging properly. Unset monitors may also occur if the battery has been disconnected for a repair to the vehicle, or the battery has been replaced, and the vehicle has not been driven sufficiently to complete a drive cycle for all monitors. Oftentimes, many monitors will be unset if the battery has been unhooked or if the vehicle has been sitting for a lengthy period. Additionally, attempting to clear trouble codes or readiness information may result in an unset monitor.
In the case of an unset monitor, the analyzer will not be able to determine if there is a trouble code present for that monitor or not. This means that underlying emissions issues may not be detected. For this reason, the number of unset monitors is strictly regulated. In OBD-II equipped vehicles 1996-2000, up to two unset monitors are allowed. In vehicles 2001 to present, only one unset monitor is allowed. If more than the allotted number of unset monitors is present, the vehicle will reject from emissions testing due to lack of information.
In this case, the vehicle must be driven enough to complete a drive cycle. The customer should consult their vehicle’s service information to determine the necessary steps to complete a drive cycle, and perform them before returning for a re-test. It is important to explain to the customer that a reject is not the same as a failure. While one of the unset monitors may reveal a trouble code after completing a drive cycle, an unset monitor by itself does not indicate anything but a lack of information. Vehicles rejected from emissions testing are ineligible to be registered until a passing smog is completed.
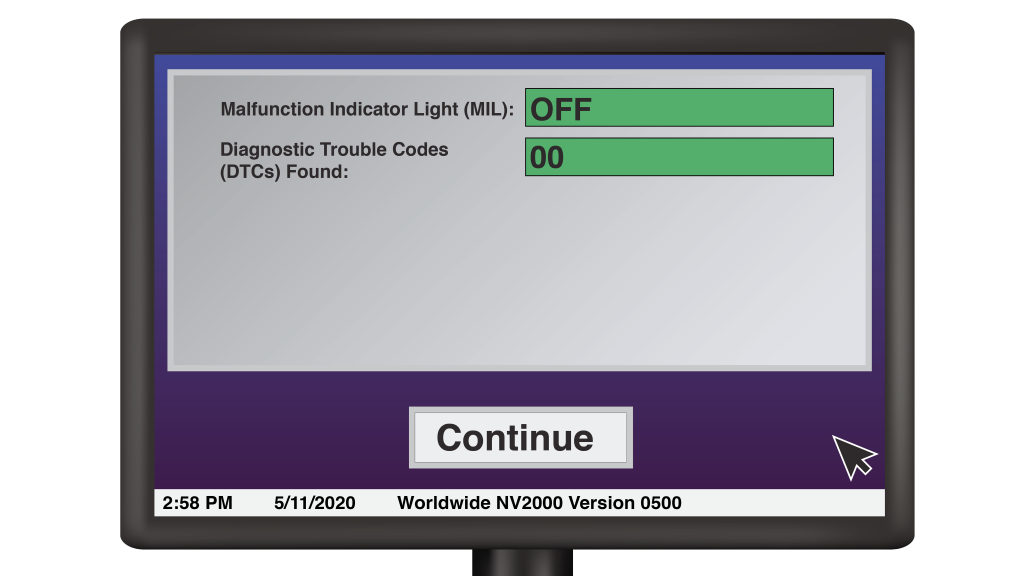
If there are a sufficient number or monitors set, the next screen will confirm if there are any Diagnostic Trouble Codes (DTCs) present, and if the Malfunction Indicator Light (MIL) is illuminated. Any DTCs present will be listed by number. Any codes present will be listed, active or inactive. An inactive code will not trigger the MIL light, it is simply a past trouble code that is no longer active but has not been cleared from the system. The presence of DTCs does not indicate a failure on its own – they must be active.
If the MIL did not illuminate during the test portion, the analyzer may still indicate that the light is reading as ON. Possible causes for this may be an electrical issue, a burned out bulb, or tampering. There is nothing to enter on this screen, it will merely display information the analyzer has already determined. Press continue to move on.
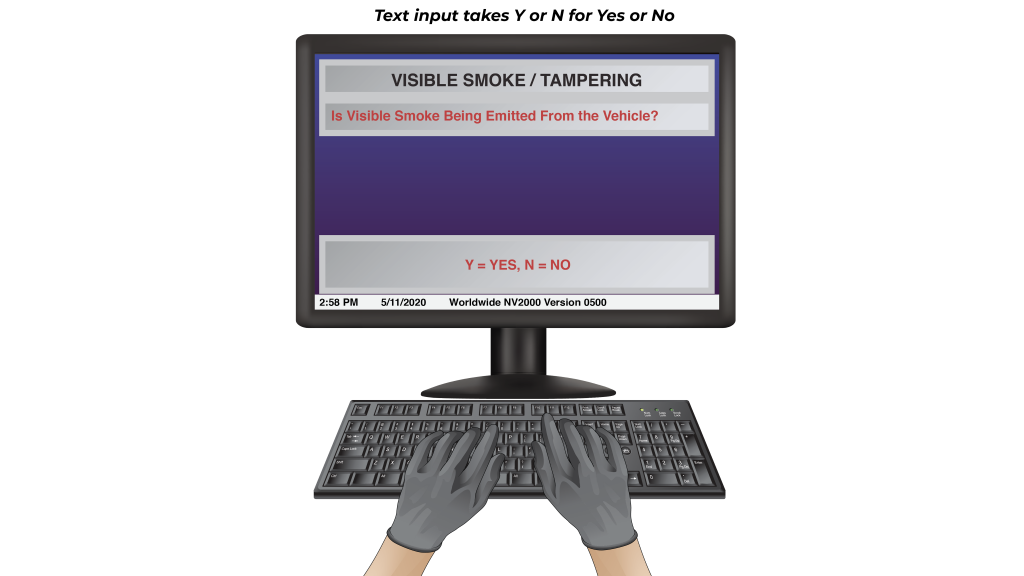
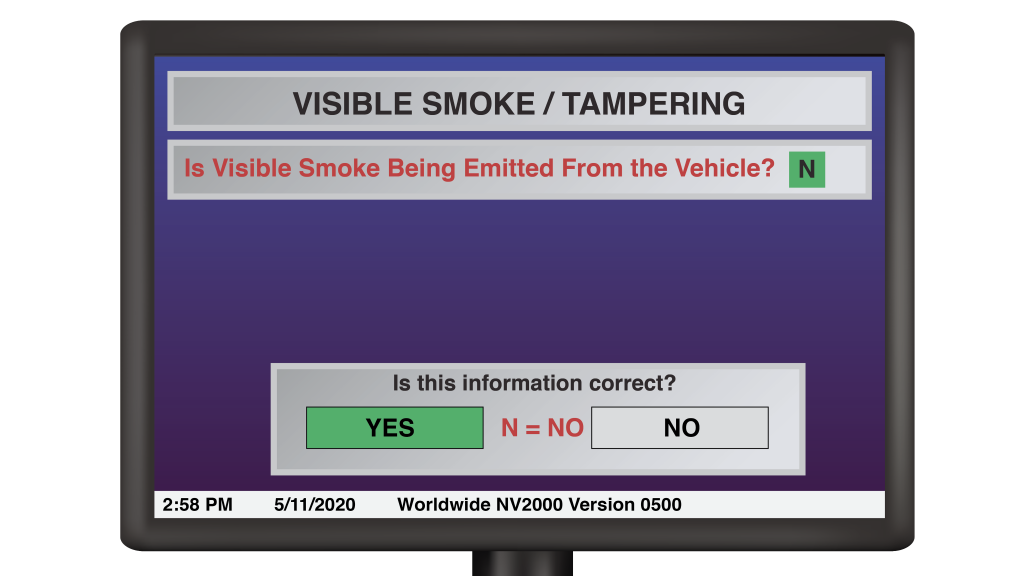
The next screen will be the Visible Smoke/Tampering entry. There will be two entries on this screen. The first will ask you if visible smoke was seen at the tailpipe during the active portion of the test. Enter Y for Yes or N for No accordingly. When you input data into the entry box, it will turn green. Once you have completed your submission, the screen will ask you to confirm the information is correct. If not, press NO and correct it. Otherwise, press YES to continue.
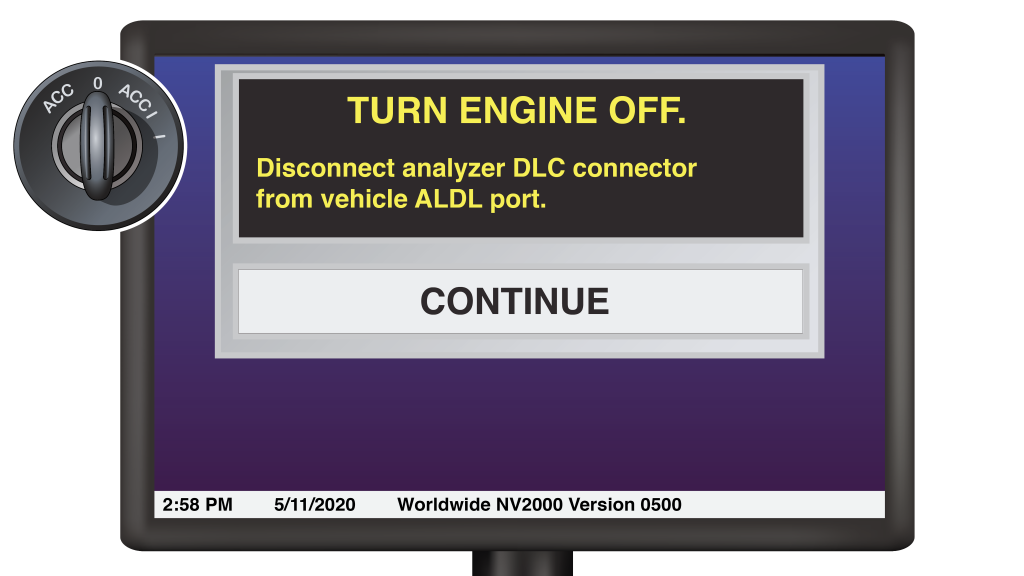
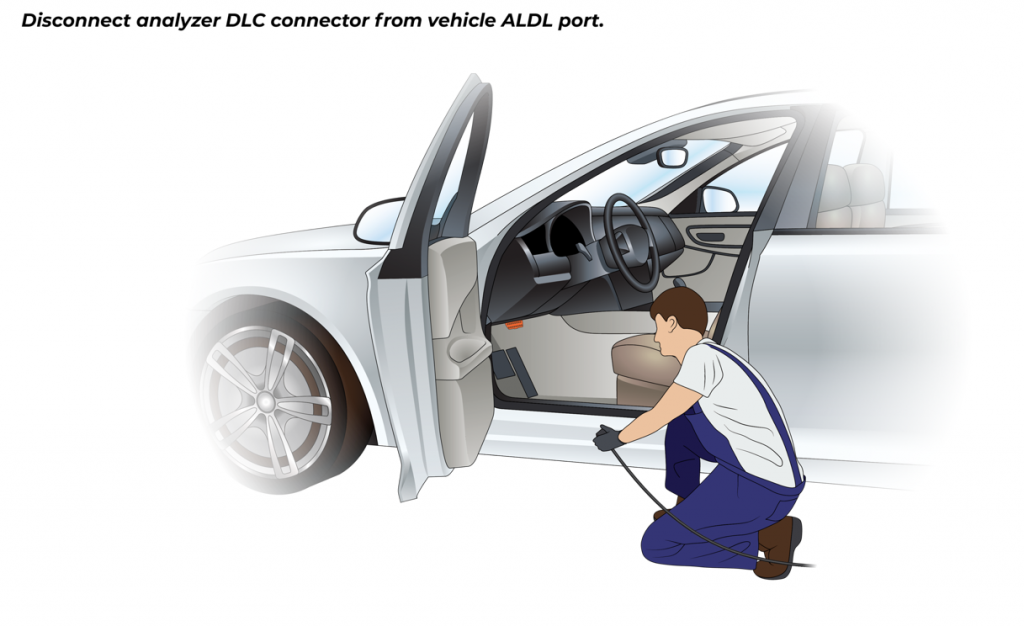
The next screen will prompt you to turn the engine off and remove the DLC from the OBD-II port. Turn off the ignition, then remove the plug. Take care to remove the DLC cord from the vicinity of the vehicle to ensure that it is not damaged by the departing customer. Once this is completed, press continue.
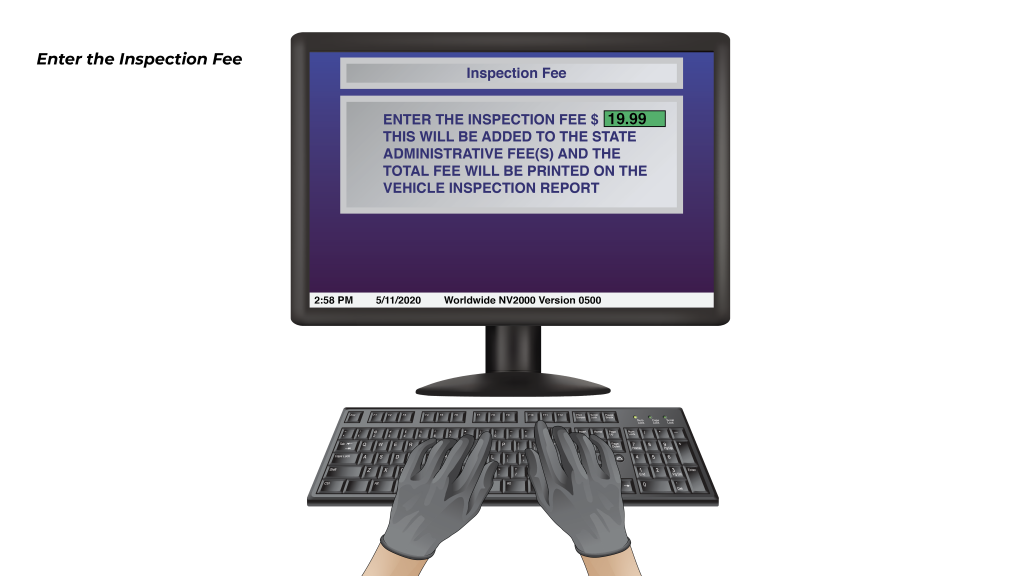
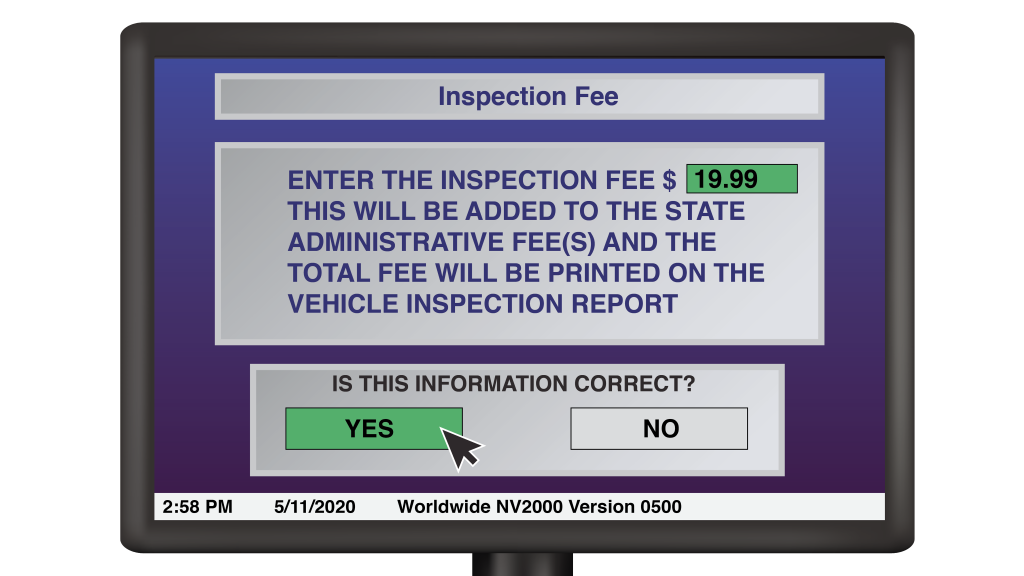
The next screen will prompt you to enter the inspection fee for the smog test. This is the shop fee, minus the cost of the VIR from the DMV. The $6.00 VIR cost will be added back on to the final report. Make sure to enter the correct amount. If you enter with test fee with the VIR included, the total cost will have an additional VIR fee added to it. The data box will turn green upon entry. The screen will ask you to confirm the information is the correct. If so, press yes.
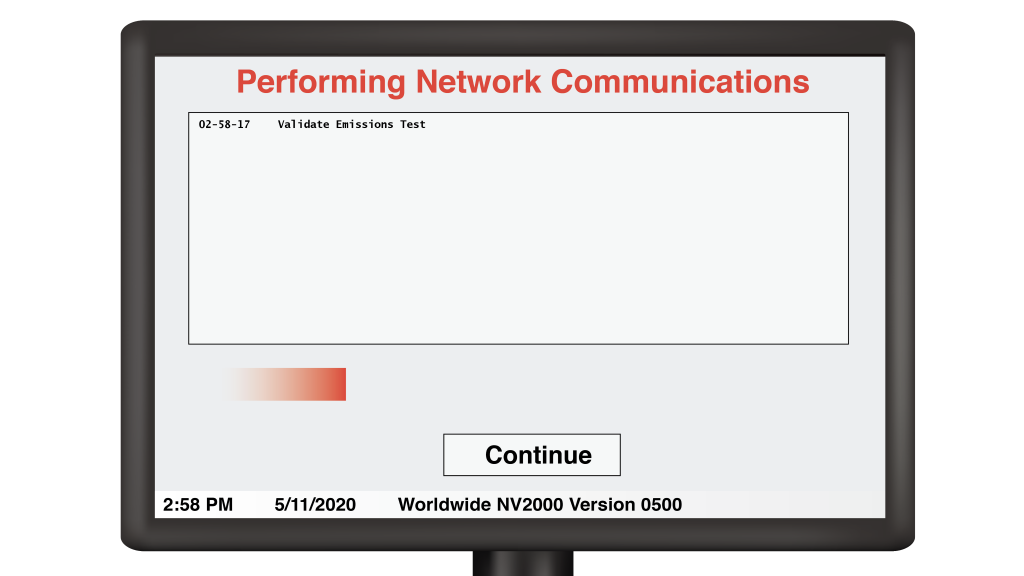
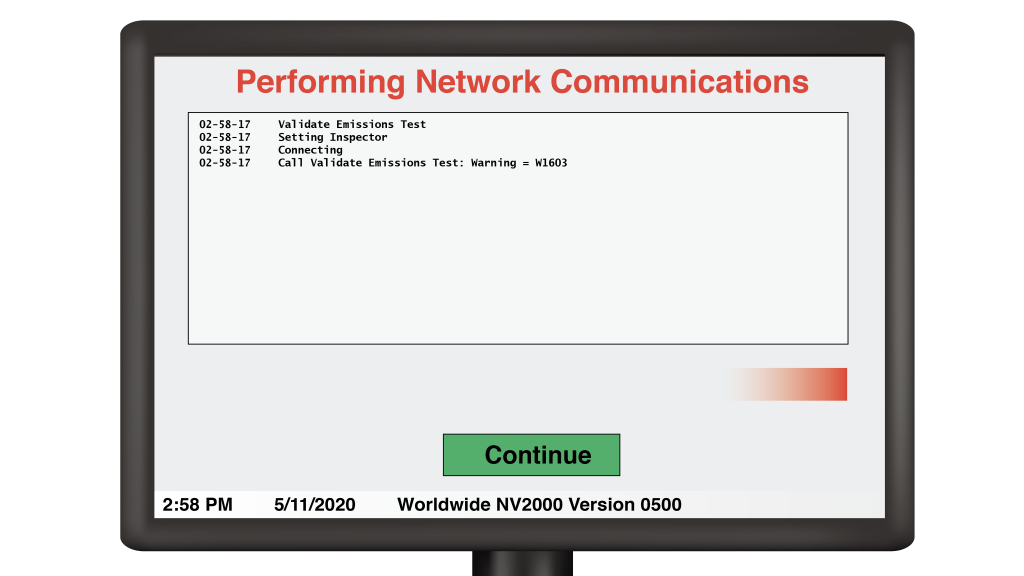
Next, the analyzer will perform network communications. Upon completion, the screen will prompt you to press continue. If you do not, the analyzer will automatically continue to the next screen.
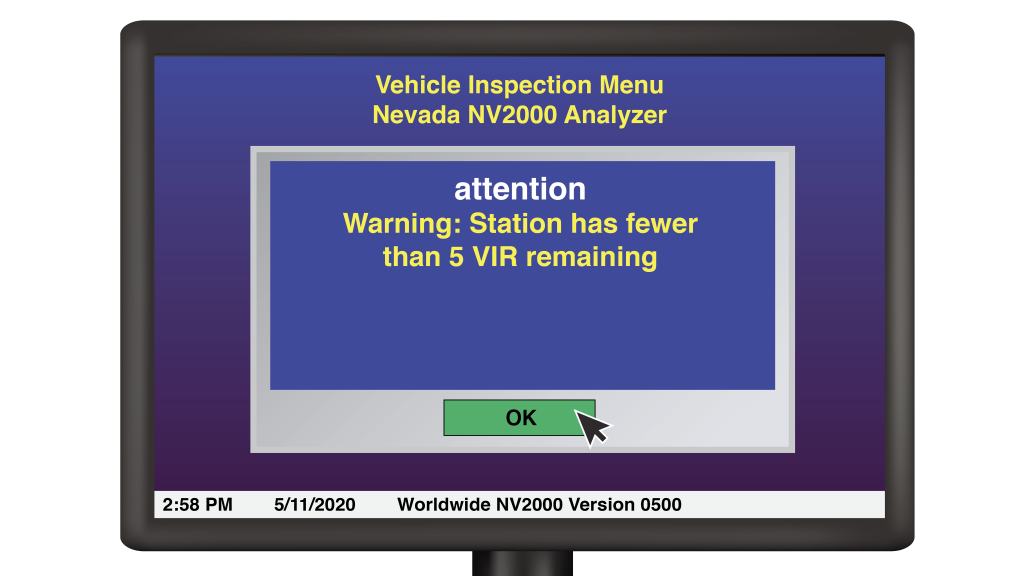
If the station is low on VIRs, or there are unread priority bulletins on the DMV portal, the analyzer will give you a secondary reminder now. You may purchase VIRs or check unread bulletins through the Web Portal on the Station Manager tab after the completion of the test. In the meantime, press OK to continue.
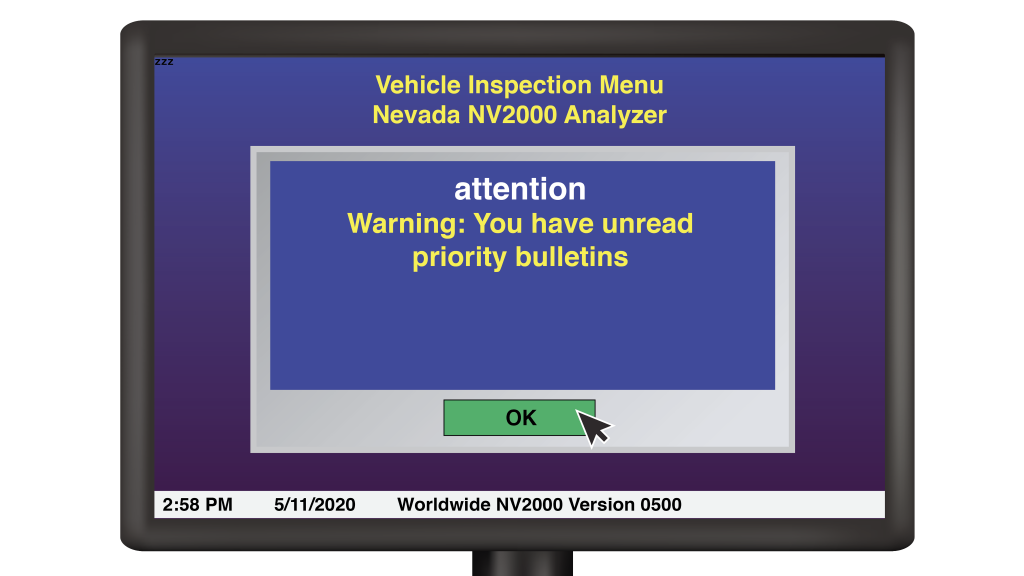
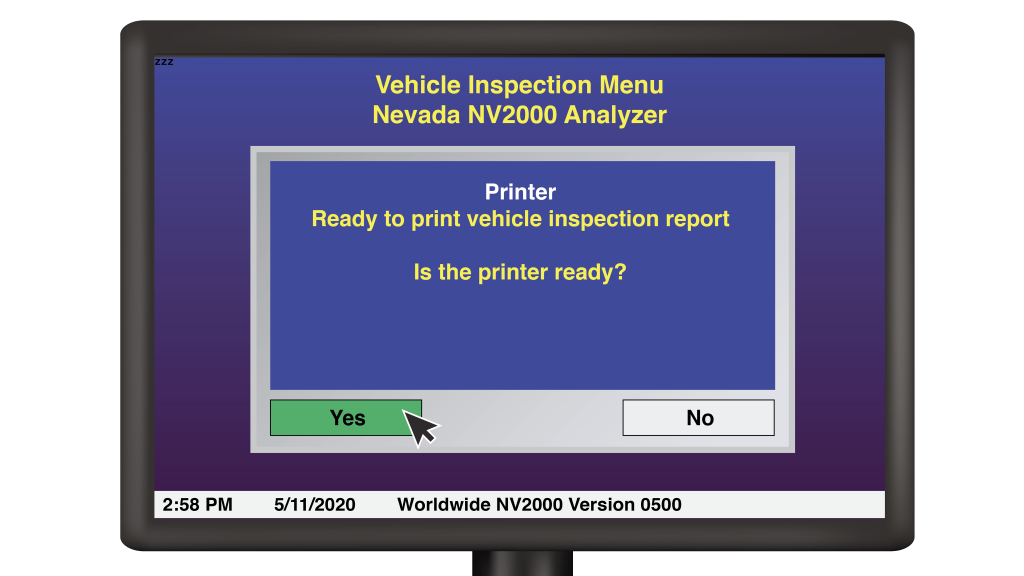
Next, the analyzer will ask you to confirm that the printer is ready to print. Confirm that it is connected, turned on, and that there is enough paper loaded in the tray. When you select yes, the analyzer will automatically proceed to the VIR Display Screen.
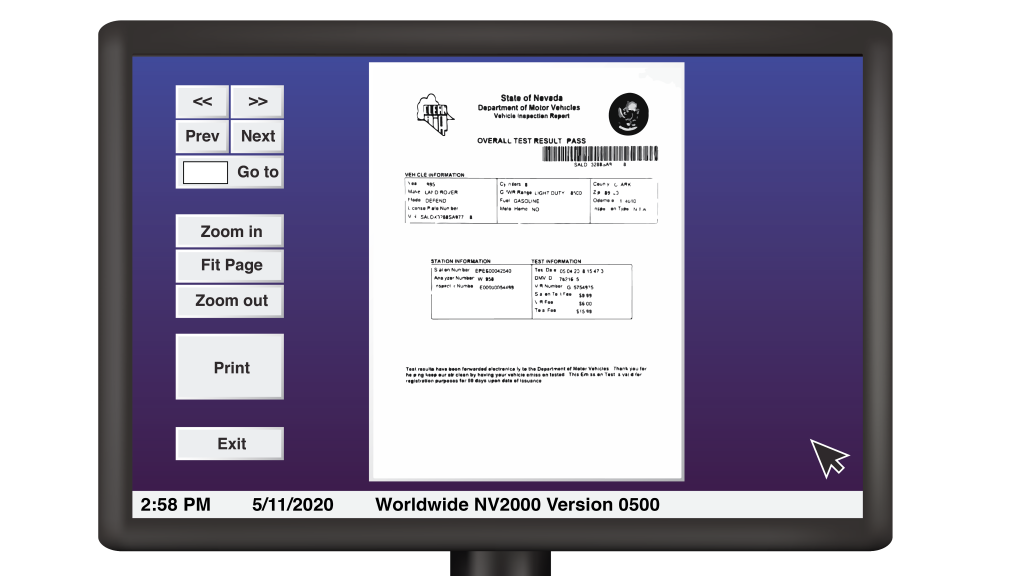
The VIR Display Screen will automatically print the number of VIRs set to print under the Station Manager Screen. If additional copies are required or requested by the customer, they can be printed from this screen. If the station is bonded to renew registrations, upon pressing the exit button the analyzer will offer you the option to proceed to the registration renewal screen. Otherwise, upon pressing exit, the analyzer will return you to the Vehicle Inspection Menu.

Check the printed VIR for accuracy, paying careful attention to the VIN Number, Plate Number, Odometer Reading, and Make/Model/Year Information. Also confirm that the results match those displayed on the analyzer during the test. Be sure to check the VIR before explaining it or handing it to the customer. If an inaccurate VIR is provided to the customer, you are responsible. If there are any inaccuracies, it is your responsibility to perform an additional test to correct them at no charge. If all information appears correct, it is time to explain the results to the customer.
If the result is a pass, explain to the customer explicitly that their vehicle passed. Explain that the VIR is valid for 90 days from the date of issuance. If they have not renewed their registration through the shop, explain that they have 90 days to do so. However, also explain that their renewal date may be sooner. In the event of an anticipated sale, explain that the smog remains with the vehicle, not with the owner. Explain that in the case of an initial registration, the vehicle must be registered within 90 days.
If the vehicle rejected, explain to the customer what must be done to complete a drive cycle, taking care to explain that the vehicle has not failed, but is also ineligible for registration until it does pass. Explain likely causes that may have resulted in a rejected test, and advise the customer to address them before proceeding with the completion of a drive cycle to avoid repeated rejections from emissions testing. Explain to the customer that a temporary motion permit may be obtained from the DMV in the event that their license plates are missing or their registration is lapsed or expired.
In the event of a failure, proceed with caution. Customers who are not anticipating a failure will often be in an emotional state. Take care not to take an accusatory or dismissive tone, even if you suspect tampering on the part of the customer. Remain neutral. Explain to the customer the precise reason that the vehicle failed, and the appropriate course of action to address the failure depending on the cause. In the case of an OBD-II test, the trouble codes responsible for the failure will be listed on the VIR.
Do not speculate on the cause of the failure even if the code listed seems obvious. This may open the shop or the inspector up to liability if the diagnosis is incorrect. In the event of a failure, the VIR will print with two additional sheets. The first is a list of 2G licensed shops authorized to perform repairs in the county where the smog was performed. Refer the customer to this instead of speculating on the nature of the problem. Do not make specific shop recommendations to the customer.
The second sheet outlines challenge tests, waiver procedures, and other information relating to a failed test. Explain to the customer that they have a right to a challenge test free of charge at the DMV emissions lab if they feel the results are in error, or the test was performed incorrectly. If the DMV Emissions lab runs a challenge test and finds the results in favor of the customer, you will be forced to refund the cost of the smog in full.
Explain the waiver procedure to the customer. In Washoe County, the threshold for a waiver application is $200 parts or labor. Explain to them that the $200 must be spent only towards the repair of whatever caused the failure. Money spent repairing additional problems will not count towards a waiver. Explain that only the cost of parts will count towards the $200 in the case of a self repair (one performed by the customer or an acquaintance). If the repairs are performed in a 2G shop, parts and labor will both be counted. The total, however, must still equal a minimum of $200 spent.
In Clark County, the threshold is $450 and this total is only permitted to be spent on repairs towards the relevant issue at a licensed 2G shop. Self-repairs are not permitted. In both counties, this total does not count the initial smog you have just performed which begins the waiver process, or the second failed smog required to qualify for the waiver. Explain that upon a second failed smog, the application must be submitted to the emissions lab. There is no guarantee that a waiver will be granted, and the DMV is under no obligation to do so. Waivers are approved on a case-by-case basis.
If the vehicle failed because of tampering, visible smoke, alterations to factory specification emissions devices, parts covered under warranty, or repairs are required to the core emissions devices (EGR, AIR, Catalytic Converter(s), fuel inlet restrictor, fuel cap, MIL or DLC, that a waiver will not be granted and the issue must be repaired by the customer without regard to cost. In the case of a self repair, receipts must be presented with the application dated after the first failed test, and preceding the second. In the case of repairs at a 2G station, proof must be presented that repairs were made at a licensed 2G station following the initial inspection and preceding the second failed test.
Instruct the customer to keep both VIRs and all relevant receipts or they will not be eligible for a waiver. If the customer’s plates are missing or their registration is lapsed or expired, explain that they may be eligible for a temporary motion permit if they present the failed smog at the DMV. This will allow them to continue to drive the vehicle while they address the problem.
Finish by asking the customer if they understand the information that has been presented to them, and if they have any questions.
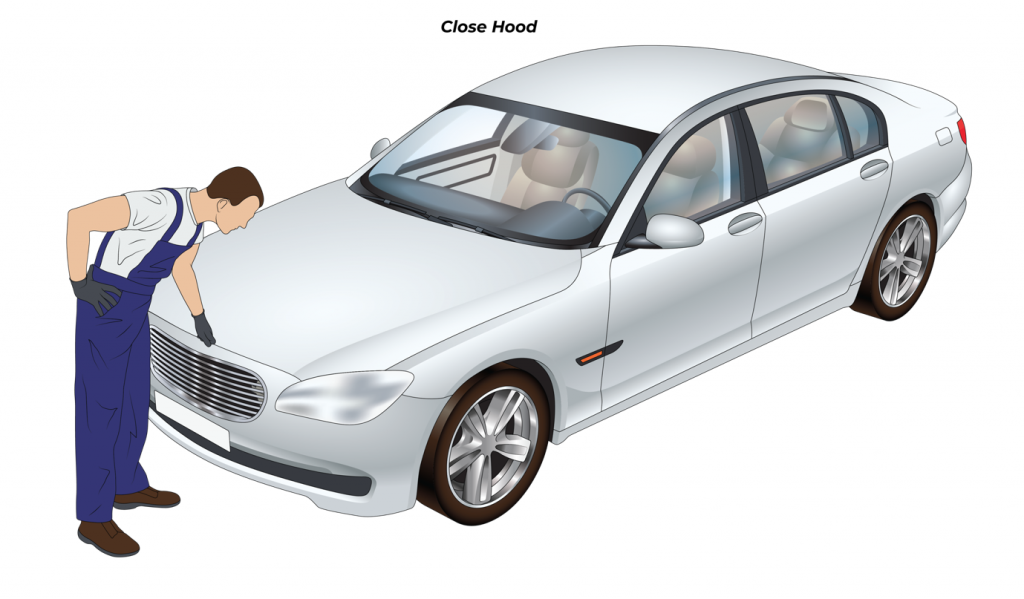
Once you have given the customer their VIR and explained it to them, close the hood of the vehicle if you haven’t already.
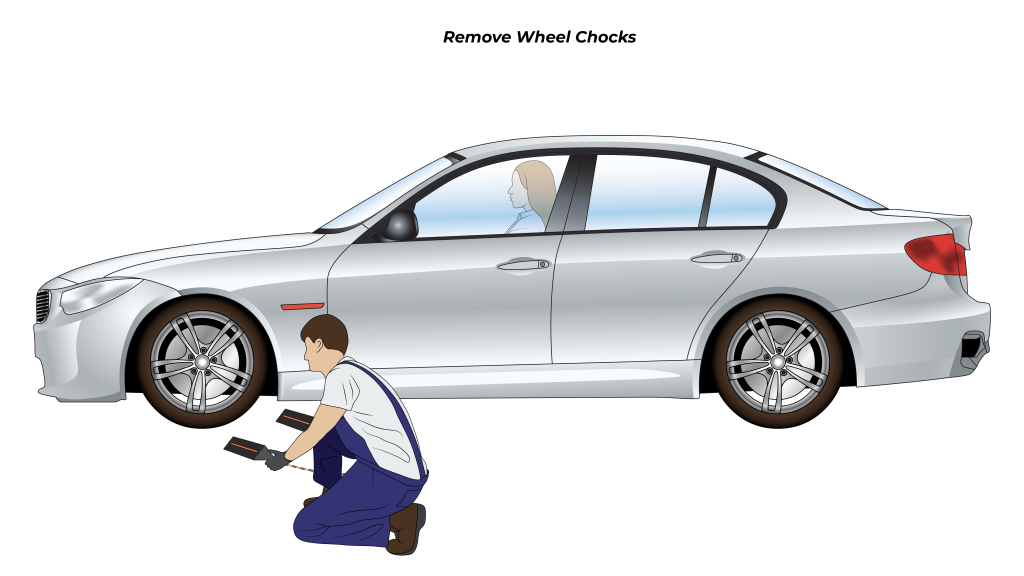
Finally, remove the wheel chocks. Take care to stay clear of the wheels. You have now completed the OBD-II test procedure.
